Sunday, August 3, 2008

GIVEAWAY!!! Free prizes!


As some of you may know, I recently changed my primary etsy shop from liasaun1.etsy.com to http://omglia.etsy.com. As such, many of my listings have expired - and to be honest I don't feel like relisting them. They're old, the pictures aren't very good, and I'm sick of looking at them in my inventory. So here is your chance to get some of my unsold designs FREE! I will be giving away 3 pairs of earrings. You may enter using the following options. (enter as many times as you can!)

Option 1: Feature my giveaway in your blog. Include a picture of your favorite item from my shop for an extra entry!
Option 2: Have a website, myspace, livejournal? Add my banner and show me where you've added it! You can find a page of easy copy and paste banners for you to add easily RIGHT HERE.
Option 3: Complete this short survey:
1. Have you seen my shop/blog before? If not, where did you find out about this giveaway?
2. What appeals to you about my shop/items for sale?
3. What would you like to see more of in my shop?
4. What do think is the target market for my items (age, income, etc)?
5. Any suggestions or critiques for me?
Giveaway Ends August 10 at 11:59 pm!

Friday, July 25, 2008

Craft Fair Sign Tutorial


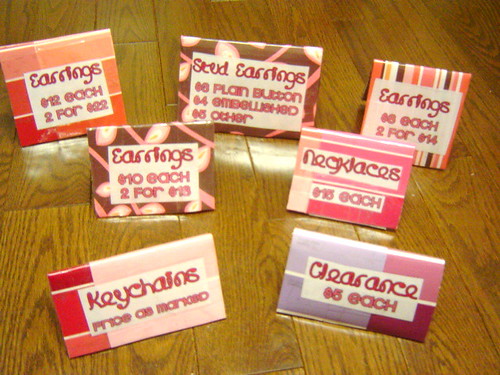
This is the tutorial for my sign displays!
You Will Need
1. Good cardboard. Any ordinary cardboard box will be fine. It doesn't matter if it has writing on it. You'll also need a bit of lighter cardboard, like a cereal box. Yay, recycling!
2. Pretty paper. I used a combination of scrapbooking paper from a craft store and free paint samples from Home Depot! Construction paper, wrapping paper, etc will also work well. Whatever looks good. If you want your signs to match, though, make sure you have enough! I didn't, as you can see, so they're all kind of in the same general color scheme.
3. Access to a printer and computer for designing the actual text. If you're fabulous at handwriting or something, I guess that'll work too, but I found that printed text makes it look more proffesional.
4. Scissors! And possibly a box cutter if you're into that.
5. CLEAR PACKING TAPE. This is important. It's to waterproof everything so it lasts longer!

Let's Begin!
1. Design your labels, print and cut them out. My labels included the name of the item, its price, and sometimes discount for multiple purchases.
2. Cut out strips of cardboard. You will be folding these in half, so make them twice the length of your sign size. To find the width, I held up the cut-out label on top of the cardboard and cut around it. You can of course also make them all one size.
3. Fold your cardboard strips in half. Now they should look like little tents! Cute! If you're using cardboard with writing on it, consider folding them with the writing on the OUTSIDE and the blank side on the INSIDE, because that way you won't see any of the writing stuff once it's covered up *shrug* I'm OCD, are you? Hehe.
4. Time to get out your tape! Cover your cardboard strip with the decorative paper, tape it in place and then tape all over it (in straight lines, so it looks neat). Also tape your label in place on one (or both, if you like) sides. See the picture to the left for what it should look like now!
5. To prevent sign your flattening on your table, we're going to make a little bridge at the bottom of each tent to hold it in place. I used paint sample paper; any light cardboard (get out those cereal boxes now!) will work fine. Fold your tent again and set it at the angle you would like it to stay at forever. Cut out a strip of light cardboard the width of the bottom of your tent. Then tape it to the bottom on top AND bottom of the strip. This is kinda hard to explain, but I'll try. Place a strip of tape underneath the cereal box strip so it goes around on top of the decorative paper sides of the sign, and also one on TOP of the cereal box strip so it stays in place with the tape going up the sides on the INSIDE of the tent. Does that make sense?

Now your sign is done! Just repeat these steps to make the rest of your signs. They should be sturdy and waterproof, as well as proffesional looking and perfect for your craft fairs! Here is an action shot of my signs:

Wednesday, July 16, 2008

Long time no post

Hello all! Gosh, I've really been slacking off about posting here. Amazingly I've been managing to keep pretty busy despite having personal issues (remember about a month ago, I posted that my boyfriend of 3 years broke up with me? I'm moving on! I even have new mancandy to help with that *wink*) And I've come up with some awesome new stuff I want to share with you!
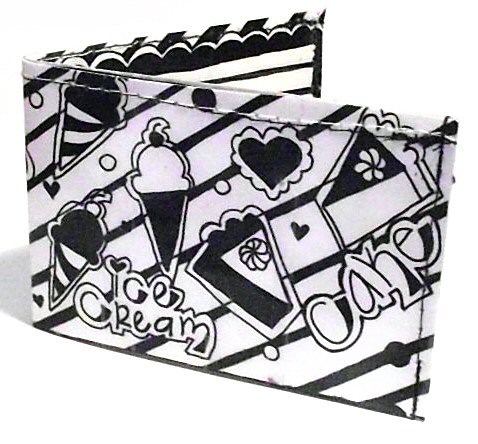
First is those wallets I've been talking about forever. They're finally listed and available for purchase on the site! More new wallet designs are coming soon, I'm planning on really expanding my wallet section and doing a lot more custom work.

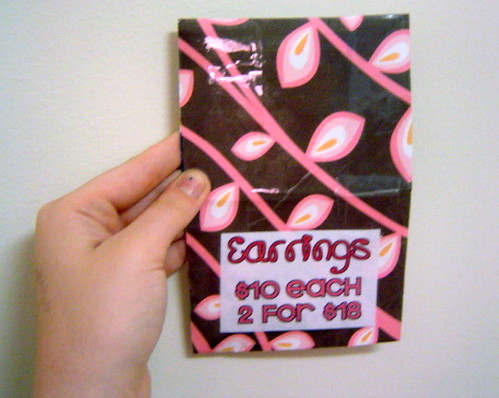
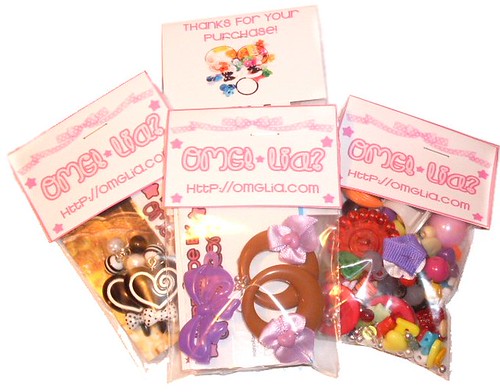
Next I want to share some new packaging I made last night! I've been seeing bag toppers all over and always wondered "wow how do they make those?" Then - DUH - it hit me like a ton of bricks. They just print out a design on nice paper and fold it in half! Durrr, that's not hard! So I whipped up a design and made some for myself.
I can't beleive how proffesional they make my orders look! I can't wait to get some more earring orders now (I had a bunch of supplies to send out that I put them on, but I think the earring packaged are prettier!) You can even see the freebie I put into each order in that pic ;) Well, that's all for now! I'll update again soon!

Tuesday, June 24, 2008

Craft Fair Tips

I've been thinking, and I've decided that with 3 craft fairs under my belt (2 not-so-good ones and one very succesful one) I might as well write down some tips for the n00bs. In no particular order, here are mine:

1. Bring everything on this list. I packed up a big box for my first fair and just bring it to each subsequent fair, and nothing ever gets left behind!

2. Make a big excel file of all of your inventory and its price. When you sell something you can cross it off, and then at home you can tally up everything you've sold on the computer to keep track of it really easily. Plus it helps if you forget the price of something or other.
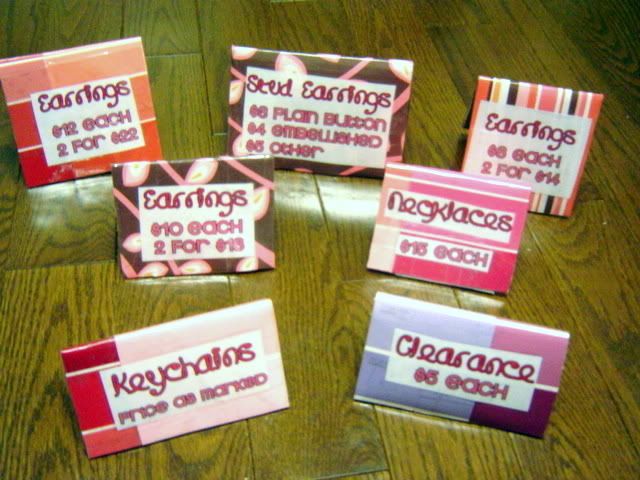
3. Mark prices very clearly. Some people don't like to ask, and some people decide what to buy based directly from the prices they see. This picture shows my pricing signs: they are little triangles made out of recycled cardboard and pretty paper, laminated (and waterproof) with clear tape. Easy fast and cute, and I can reuse them over and over! I'll make a tutorial if anyone wants one.

4.Have freebies, either from your shop or other people. It creates loyalty because everyone loves freebies! Freebies for your own shop (promotional freebies) should be USEFUL so they don't just get thrown away. My favorite item for this is magnets, which I make myself. Pens, mirrors, etc might also work wonderfully! Make sure your URL is on there and all that. I gave away all but 3 of the 50 or so magnets I had sitting out there, and now they're all sitting on people's fridges for them to see every day!

5. packaging! Bring bags (NOT recycled wal mart bags) with your url or logo somewhere on it. Include a biz card inside. I also toss in etsy promotional packs, makes them feel like they're getting more freebies! Consider wrapping and whatnot if your item works that way.

6. Have a draw like the giant teddy bear I used at my last fair! (see my previous entry for pics) it will attract your target demographic. If you're a soap seller, think about how The Body Shop always has that little dish set out with yummy smelly samples in it OUTSIDE their store, to draw people in, for example. If you sell plushies, make a huge one. If you sell clothes, put your best outfit on a mannequin. Etc! People will see it from far off and want to come check out your stuff!
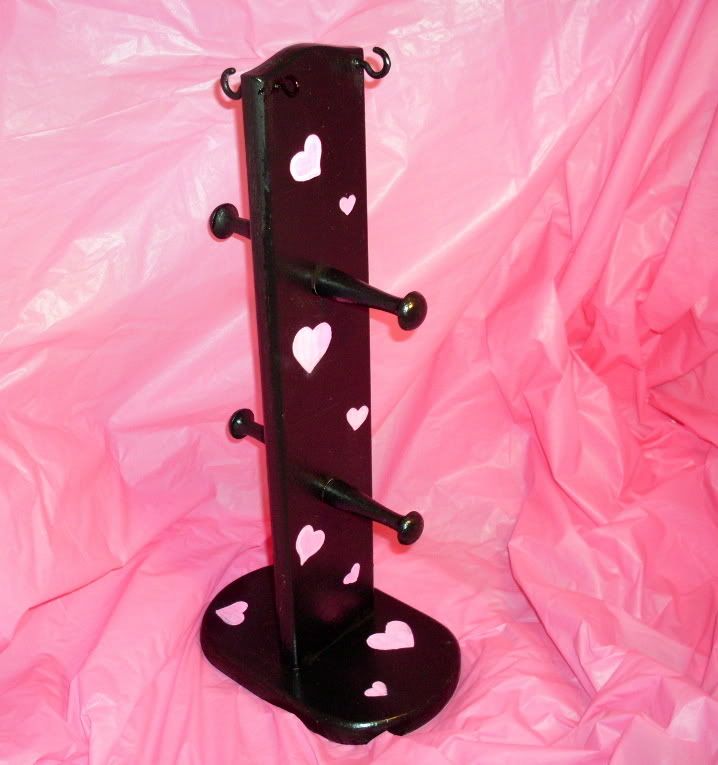
7. Displays. Think about how you want your items to be seen. If you are marketing adult-oriented, sophisticated stuff, you may want all matching displays. I personally chose a variety of themed displays for my tables, so it doesn't match very well but does look interesting. For some ideas on DIY jewelry displays, click here. The picture is of an old, dirty necklace stand that I painted! Get creative.

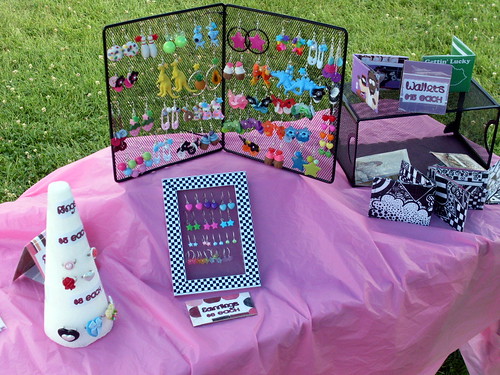
8. You'll hear this one a lot - levels! You need your table to have lots of levels so it doesn't look all boring just laid out in one spot. I personally like to put a box underneath my tablecloths to mix it up and then put things on top of that. The picture is an example. See how one jewelry display is much higher than the other? It makes it look more interesting. Plus, you can fit more stuff on your table that way! Also consider hanging things from the side of your tent. The more levels, the better!
9. Be friendly. My last craft fair, I was going through a breakup. I was SOOOO not in the mood to smile and sell my stuff. But I did anyway (plus my friends showed up to help, which cheered me up!) and I got a lot of return customers from one day to the next! All these teenage girls kept coming back to talk to me, it was adorable! If I would've let my mood take over I would've sat glowering at everyone, but instead I said hi to each customer and sold my products cheerfully. Always stay proffesional.

10. Promote your fair. I know, that's the job of the advertisers ... but in my case, I wasn't sure there was advertising to my demographic. The fair organizers had advertised in the newspaper and around their neighborhood, but I hadn't seen anything on craigslist, facebook, or myspace!! So I got promoting, created a facebook event and a craigslist post. We all know how to advertise here, and the more customers a fair has, the better EVERYONE benefits.

If I think of any more tips I will update! Please add your own too!
Craft Fair Pictures!


Pictures of my latest fair, as promised, are here! This first picture is of little Lia the Bear, complete with DIY reconstructed top and ice cream cone! She was popular with the kids who all wanted to buy her :P This fair was 2 days long. These pictures were taken on the first day, which was unfortunately very gloomy and rainy and not too many people showed up. The 2nd day which I have no pictures of was bright and sunny and tons of people came! Also on the second day, I put up a pink sheet in the back of my tent so you couldn't see the ugly caution tape and cars like in this picture, so just imagine that there, hehe. I wore my hair down the first day b/c it was cold, but the 2nd day I was sweating in my shorts all day long! This next picture is of some earring and ring displays and also my newwwwww graphic art wallets which aren't on the site yet but are coming REALLY soon! I sold 2 wallets, and lots of people stopped to look at them, so I hope that's a good sign!

The only snag I hit with my display was that at one point my tent collapsed, nearly taking out a customer! It just started leaning over ... and over .... and over until I looked up and realized it was almost completely parallel to the ground! The weight of the supply displays on the sides must have sagged it down. Anyway the guy next door helped me hammer each leg deep into the ground so it stayed firm the rest of the fair. I guess you get what you pay for, because my tent was $50 on ebay.
The rest of my pictures are over at My Flickr. Suggestions for improving my booth are welcome!

Sunday, June 22, 2008

Success!

Today was the final day of my 2-day craft fair. PICTURES COMING SOON! Suffice it to say that I sold 22 items and made a profit of over $100!! It was a wonderful fair, fireworks and rides and everything, and all of my friends stopped by :) I had a lot of fun!

In personal news, I was just dumped by my boyfriend of almost 3 years and feel totally distraught about it.
So ya know. Feel free to cheer me up or help me stay busy somehow.
Business success really does wonders for a broken heart, though, doesn't it? Hmmm.

Saturday, June 14, 2008

Update From My Life

I had my orientation for Indiana University yesterday (I'm transferring in as a sophmore.) I was going to get a business degree, but it would mean cramming in a zillion required classes this year (no, I'm serious, it would be almost impossible. Their business school is very good and very cutthroat.) So my declared major is now Apparel Merchandising! I know, it's not very common, but it's hella useful for my chosen career path, provided that stays the same for the next 2 years or so. Anyway, I'll be minoring in business, so I'll still get tons of nerdy business skills. So I get to take classes in fashion design and accounting. Can we say, perfect?

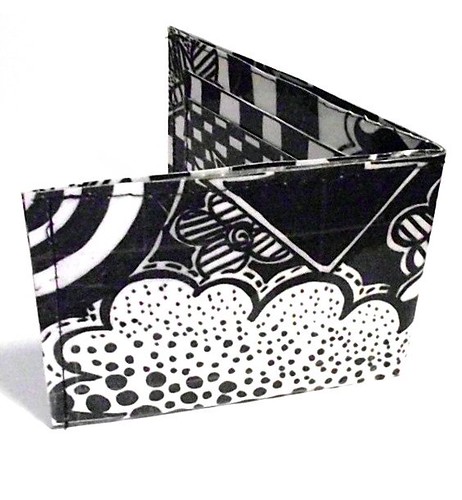
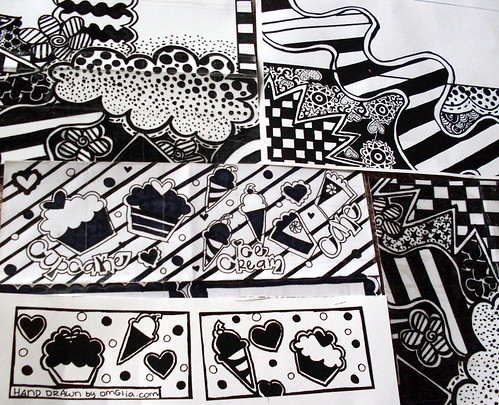
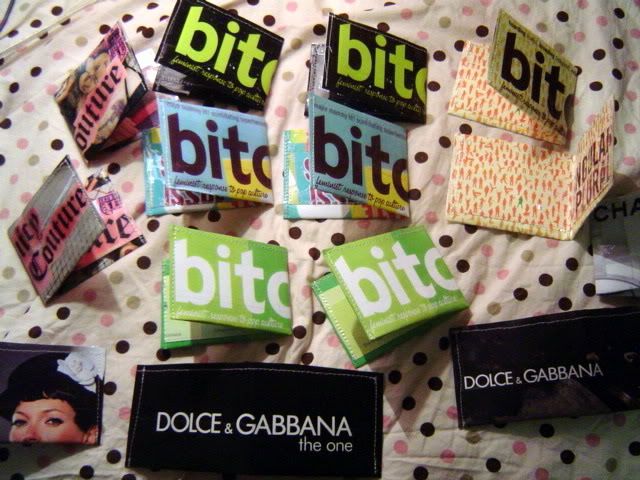
In other news, I've been secretly working on totally new line of wallets! I've designed them and started to laminate them and cut them out, but haven't sewed any up yet, so I can't show you :( but I will show you this awesome secret preview!

Oooooh. No copyright infringement here, guys, it's all original :)

COMING SOON IN LIA'S LIFE:
1. New hostess job at Olive Garden!
2. Craft fair this weekend! 2 days! Lots of kids! $75 that I must make to break even. Yikes. I'm going to have to do a ton of sewing this weekend so I at least have some more expensive items. I hope some of the people at this fair like hot topic shirts.
3. I have 3976763 consignment orders to go out in the next few weeks. Hopefully I can at least make some money that way, b/c this summer is going SO badly.
Stay tuned!

Wednesday, June 11, 2008

YART SALE!


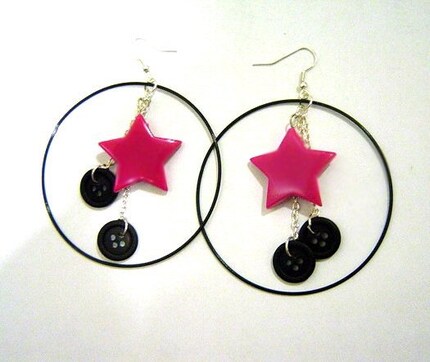
Some of you might have heard of the "Yart Sale" on Etsy right now! If not, it's ton of stores with discounted prices from June 11-20th .... like a yard sale, for handmade items! 2 of my shops will be participating! Pictured are some of the awesome items for sale that you can snag at my Etsy shops. To find other great Etsy deals, just add "yart" or "yart sale" to your search, and voila, discounts galore!

I've made sections in my shops for the sale items: Here are the supplies and Here are the earrings!

As a special, secret bonus,I've also marked down one BITCH wallet in my new Etsy shop! Here it is! Enjoy these great deals and be sure to search through other shops as well!

Wednesday, June 4, 2008

Dinner party at my apartment!


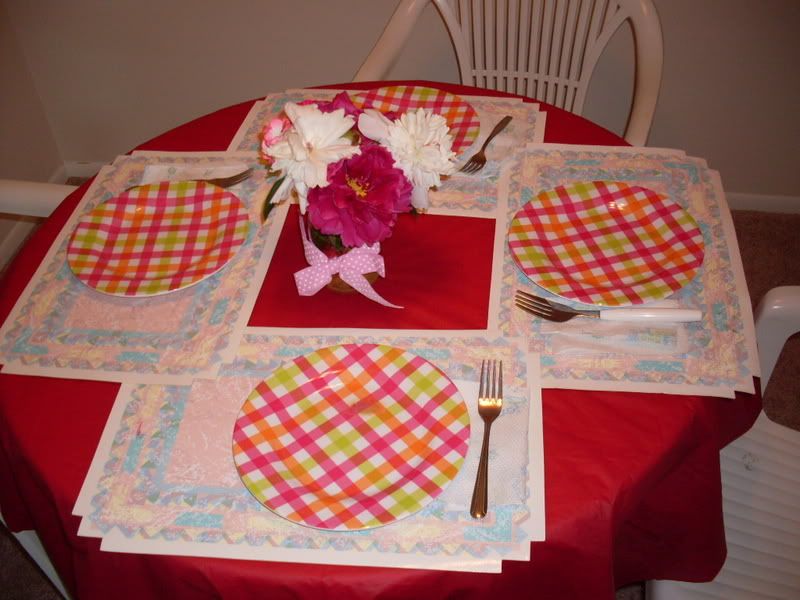
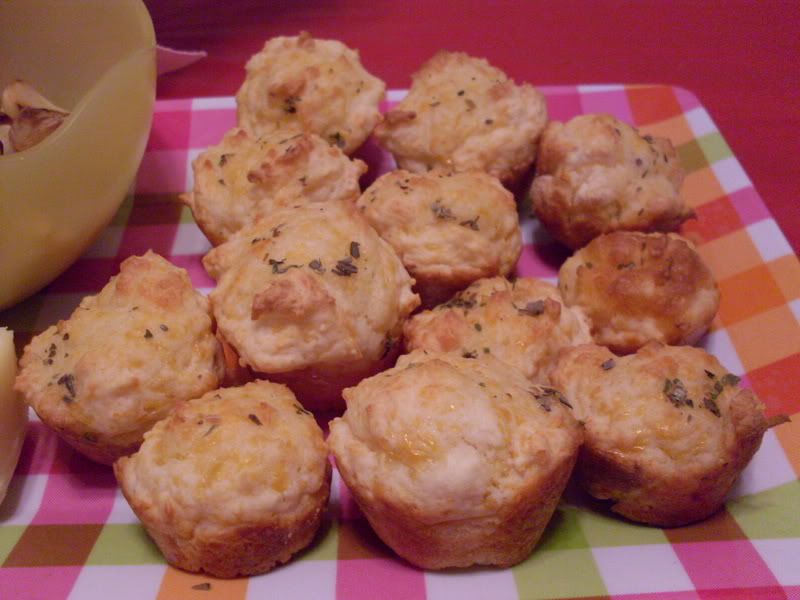
So I threw a little dinner party for my mom, dad, and grandmother to break in the new apartment, so to speak. I slaved all day (imagine the heat of 80degree weather, a shower, an oven, AND boiling water in my little apartment, Ahhhh!) cooking and cleaning just like a cute little housewife (except my boyfriend doesn't eat food I like, or trust my cooking, so he opted out, haha.) Anyway, here are a few pics! First can we just admire my plate set in that first pic? Pink and green PLAID. How much? $3 for all of it (plus the serving tray and a set of knives). Yard sale. HOLLA! Ahem, moving on.

These are Garlic Chedder Biscuits courtesy of the amazing Joyful Abode blog. They are really easy to make and delicious (though I recommend adding an entire bag of cheese rather than half, don't skimp!) and serving them warm, if possible.
I've got loads more pics up at my Livejournal Blog so head over there to see them!

Monday, June 2, 2008

Wholesale/Consignment Tip

Along with many other sellers this summer, I'm not selling a thing! I haven't had a sale in almost 3 weeks now, the longest time ever since I first opened up my shop! So, what to do? Give up? Toss in the towel? No. The answer is, devote my time to other alternatives and opportunities during this slow summer. For me, this means a couple of craft fairs and wholesale/consignment work.

A wholesale wallet orderFor those not familiar, wholesale means you sell a large amount of your items at a reduced price to a store to sell at whatever markup they like. Consignment means you send items to a store along with a list detailing what prices they should be sold at, from which you receive 60% and they receive 40%. Wholesale means upfront payment; consignment means payment when your item sells. I think of consigment as a 24/7 craft show: your item is on display in a shop with lots traffic! I'm going to be doing my first consignment orders this summer.


What I did to jump-start this re-focused attention thing was write up a Wholesale/Consignment Tip Sheet with every item I wholesale, the minimum price required to buy to receive the discount, and its price. The same items are also available for consignment. Next, I visited my Etsy Thread which lists loads of stores who sell handmade goods, along with their locations! (In alphabetical order *ahem* you're welcome!) I clicked on every website (though, if you're really ambitious, you could probably google the ones without websites listed as well) and if the store looked like it fit my target demographic (edgy, funky, alternative) I found their email address and added it to my list. Once I'd compiled all of the stores, I sent out a mass email with a link to my wholesale page and a couple of suggestions (for example, I can make custom wallets: local-themed wallets, political wallets, graphic wallets, etc! I suggested these as a great personalized shop-specific selling item and, surprise, I now have 2 consigment orders for them!) Not all 30-something of the shops I emailed have gotten back to me yet, but I have several new orders to work on and now I don't need to rely on my dead Etsy shop and Website for income.
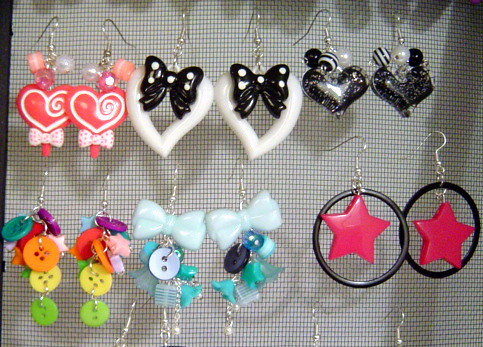
Earrings for a wholesale order
To make your own wholesale info page, you don't need a website, although it does help (mine was just simple HTML). You can also write up an email in Notepad and copy-paste it into your email provider to send it out to multiple people. Your wholesale tip sheet should include example pictures that showcase your items (I had pictures of previous orders I'd done as well as my best items from each category), prices, and if you have any requirements for wholesale/consignment or feedback from other wholesale buyers, you can include that too. I can't wait to hear back from the other shop owners! And remember, even if they don't order from you right away, you're now in their file of potential sellers!