This is the tutorial for my sign displays!
You Will Need
1. Good cardboard. Any ordinary cardboard box will be fine. It doesn't matter if it has writing on it. You'll also need a bit of lighter cardboard, like a cereal box. Yay, recycling!
2. Pretty paper. I used a combination of scrapbooking paper from a craft store and free paint samples from Home Depot! Construction paper, wrapping paper, etc will also work well. Whatever looks good. If you want your signs to match, though, make sure you have enough! I didn't, as you can see, so they're all kind of in the same general color scheme.
3. Access to a printer and computer for designing the actual text. If you're fabulous at handwriting or something, I guess that'll work too, but I found that printed text makes it look more proffesional.
4. Scissors! And possibly a box cutter if you're into that.
5. CLEAR PACKING TAPE. This is important. It's to waterproof everything so it lasts longer!
Let's Begin!
1. Design your labels, print and cut them out. My labels included the name of the item, its price, and sometimes discount for multiple purchases.

2. Cut out strips of cardboard. You will be folding these in half, so make them twice the length of your sign size. To find the width, I held up the cut-out label on top of the cardboard and cut around it. You can of course also make them all one size.
3. Fold your cardboard strips in half. Now they should look like little tents! Cute! If you're using cardboard with writing on it, consider folding them with the writing on the OUTSIDE and the blank side on the INSIDE, because that way you won't see any of the writing stuff once it's covered up *shrug* I'm OCD, are you? Hehe.
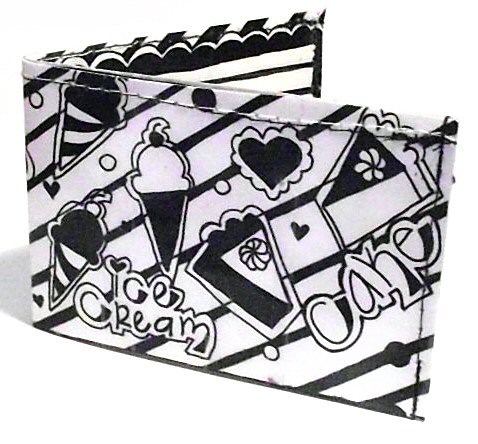
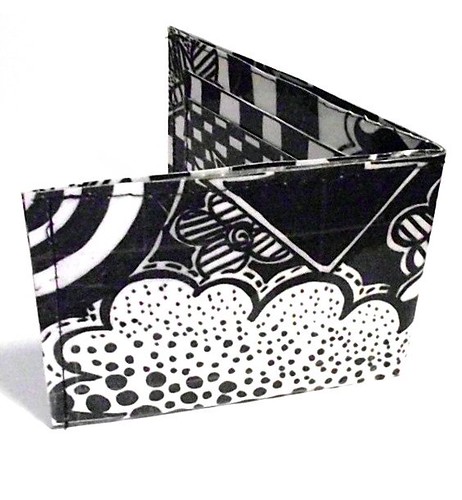
 4. Time to get out your tape! Cover your cardboard strip with the decorative paper, tape it in place and then tape all over it (in straight lines, so it looks neat). Also tape your label in place on one (or both, if you like) sides. See the picture to the left for what it should look like now!
5. To prevent sign your flattening on your table, we're going to make a little bridge at the bottom of each tent to hold it in place. I used paint sample paper; any light cardboard (get out those cereal boxes now!) will work fine.
 Fold your tent again and set it at the angle you would like it to stay at forever. Cut out a strip of light cardboard the width of the bottom of your tent. Then tape it to the bottom on top AND bottom of the strip. This is kinda hard to explain, but I'll try. Place a strip of tape underneath the cereal box strip so it goes around on top of the decorative paper sides of the sign, and also one on TOP of the cereal box strip so it stays in place with the tape going up the sides on the INSIDE of the tent. Does that make sense?
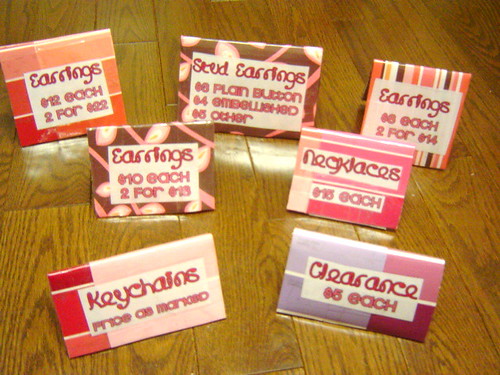
 Now your sign is done! Just repeat these steps to make the rest of your signs. They should be sturdy and waterproof, as well as proffesional looking and perfect for your craft fairs! Here is an action shot of my signs: